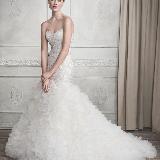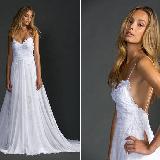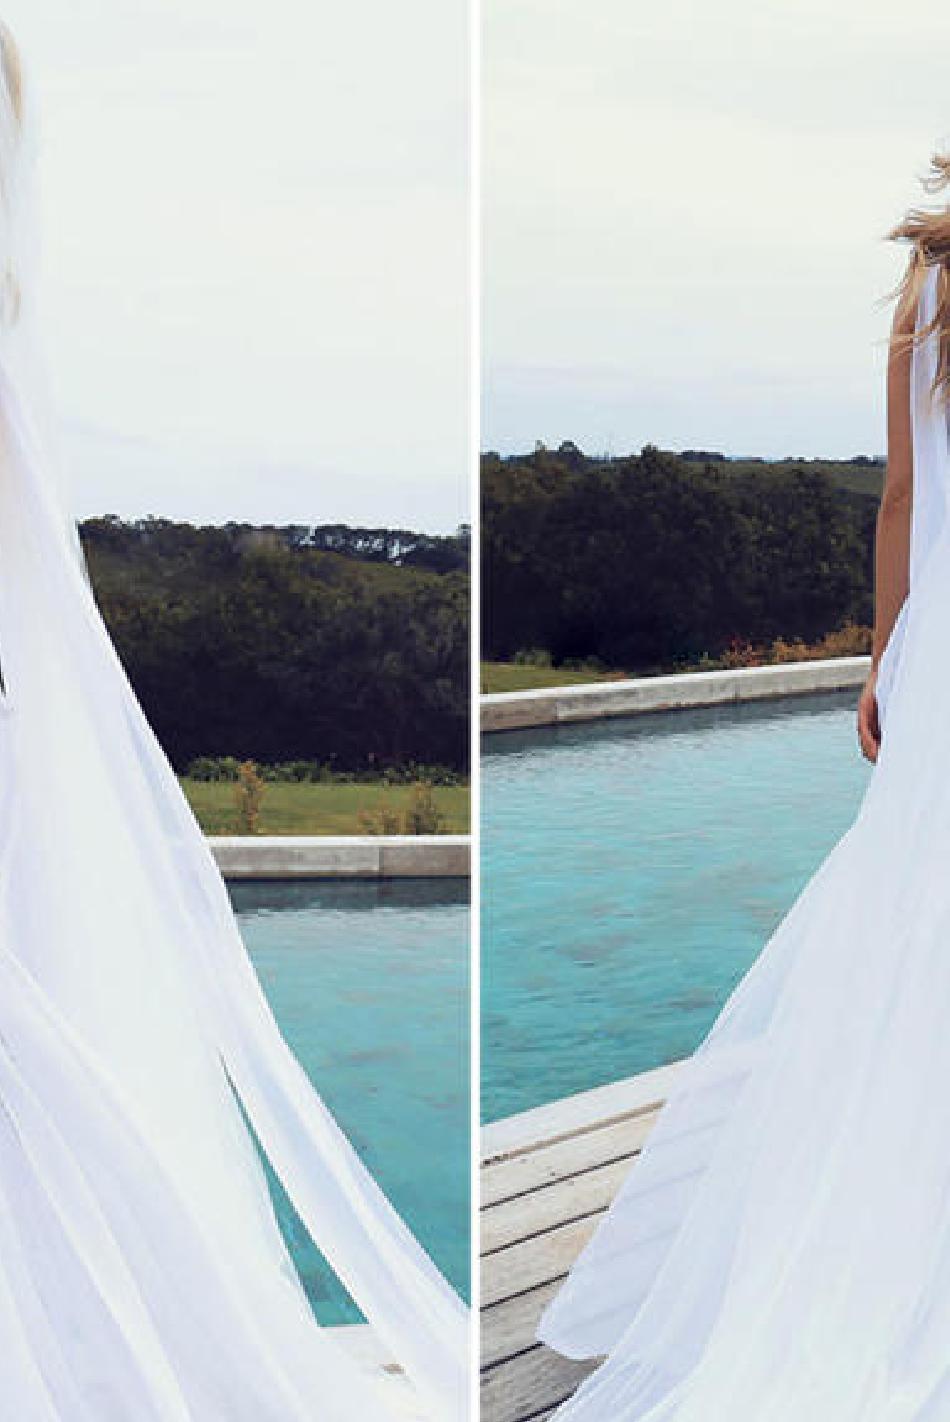

You've set the date, picked your colors, had your bridesmaids choose dresses, and everything from catering to those floral centerpieces have been squared away. The next logical question: what's the plan with your makeup? Even if you didn't go the DIY route with the placecards, rest assured that it is totally possible to do your own makeup for your weddingjno use of an airbrush foundation machine required. Makeup artist Maureen Pedala has worked on countless beautiful brides, and to gear up for your big day, we asked the pro to offer up her very best tips and help come up with a game plan for doing your own wedding makeup. Read on for all the info you need on doing your own makeup for your wedding, as well as the techniques you need to practice leading up to the big day.
Plan Accordingly
Start making your game plan about 3 months before your wedding day. "You have to have time to get your skin in its best condition, purchase and become familiar with the products you'll use, and have a few practice runs to see how long that makeup will last as you go throughout a long day," advises Pedala, who also recommends getting a deep cleansing facial (sans extractions) around that same time. Then, get thee to a Sephora to pick up products. Your shopping list should be as follows: a foundation primer, sheer foundation formula, translucent powder, eyeshadow, liner, waterproof mascara, blush, lipstick, and concealer. "Choose a concealer in a warm tone, just a tad ighter than your foundation, but not too light. Blending is your best friend here. You never want to see a distinct change in color," she tells us. "Choose a soft lip color. Most lip color will not last through talking, kissing, and toasting, but you may have little time to reapply. You want the whole look to work with a soft lip color, so that when it fades away, you won't appear completely different."
Go Neutral
Unless the theme is rainbow unicorn princess, you'll want to stick to a neutral color scheme with hints of rose, peach, and bronze. "You should look like yourself on oyur wedding day. 'Red carpet' you, but you all the same," says Pedala. "Stay with cream colors on your eyelids, and use either a taupe, soft rose, or light bronze color in the crease." Tan or dark skin tones are flattered by bronze, coral, or berry blushes, while fair skin should go for a soft pink, peach, or rose. Lip color should follow suit with sheer berry, pink, or apricot.
Blend Carefully
The trick to wearing neutral shades that still show up in all your wedding photos? Blending out all the harsh lines perfectly. "You may have the perfect pink blush color, but if you have place it in a hard streak on the side of your face, the camera will exaggerate that," Pedala tells us. "Use soft, plush brushes, sponges, and puffs to blend the color."
Practice the Eye Makeup Method
"All the drama should be saved for the lash line and lashes," says Pedala. once your shadow colors are set, practice lining your upper lash line, with either a waterproof pencil or gel, as close to the base of the lashes as possible. "Don't be afraid to touch the lashes themselves. Draw in short dashes rather than doing one quick, smooth line, then take a small brush with some dark shadow and smudge it on top of the pencil line," she adds. "This softens the line and increases the lasting potential." You can either leave the bottom lash line bare, or blend on a taupe or light brown color with a small brush. Give your lashes a few pumps of the curlerjShu Uemura's version ($20; shuuemura-usa.com ) is Pedala's favoritejthe apply waterproof mascara generously. Determine whether or not you plan to work with false lashes, then practice as much as you can. "The small clusters are easiest to manage when doing your own makeup," says Pedala. "Dip each cluster in a small amount of Duo Glue ($4; target.com ), wait 10 seconds for it to get tacky, then lay it on top of your natural lash line." The best method is to start from the outside, then work your way toward the middle of your eye.
Waterproof Everything
Even if you swear you're not going to cry, you'll probably tear up a little, so waterproofing everythingjparticularly your eye areajis key. Pedala advises starting with a dab of concealer on your lids prior to blending on the eyeshadow, and using waterproof mascara and liner exclusively. Set the line using a matte shadow in a corresponding color over the top. Your trusted foundation primer should prevent your complexion from wearing away, but make sure not to go overboard with the face powder, as it's the main culprit for those white tear streaks that often show up after crying. "Too much of any product will move around on the face and look sloppy as the day goes on, so keep a light hand, and touch up with blotting papers so you don't look cakey," she advises. "For your undereyes, apply a little translucent powder over the concealer as you apply mascara. When you are finished, brush the powder away. The product leftover will keep the mascara from transferring to your skin when you blink."
Keep Calm, and Carry a Well-Stocked Clutch
You've perfected your technique, the table settings are in order, and the morning of your big day is fast approaching. According to Pedala, the entire routine should take no more than 35 to 40 minutes, but it's important not to rushjafter all, you're probably worked up enough as it is. "Give yourself some cushion time and put aside an hour so you will relax into it and have a good time," she advises. From there, you'll want to pack your clutch. Throw either blotting papers or translucent powder in, along with your lip color, and potentially a small blush compact. "on some skin, the blush can fade," Pedala says. "If you can't fit the compact, get a travel brush, dip it in your blush color, and wrap it in tissue." Extra tissues are also a necessity. Make sure to blot your tears rather than wiping them to avoid smearing your handiwork.